


Mod Textures Fix
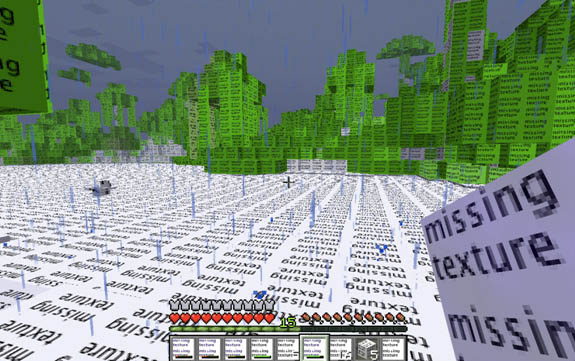
When installing a new mod there is always a chance of something to go wrong, I found that one of my biggest problems was textures. Any time a mod offered new blocks or items the textures were not being installed properly. Some mods are not set up to install textures and you end up in a world where all blocks read “Missing Texture”. Don’t freak out there is a simple fix for this.
Adding NOT Replacing
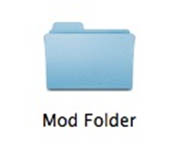
If you’re like me and you add mods on a daily basis then you have the installation down pat, copy files from the mod folder into the mineraft.jar folder and click replace all. There in lies the problem with some mods.
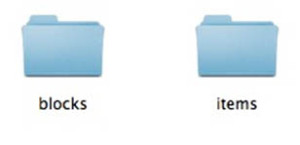
Within certain mod folders there are two folders named “Blocks” and “Items”, there are also two folders by the same name in your minecraft.jar folder. So when you hit “Replace All” you’re replacing the minecraft.jar folders with the mod folders. This is deleting all of your Blocks and Item textures and all you’re left with are the mod textures.
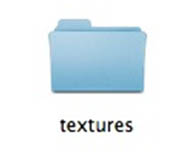
How do we fix this? Go into your mod folder and open the “textures” folder. Here you will see the two culprits, the “Blocks” and “Items” folders. Open each one at a time and copy the files inside. Now navigate to the minecraft.jar folder and find the “texture” folder here, open it and then go into each folder and paste the items accordingly. You should not be asked to replace any items when you do this.
The problem was the Texture folder was being replaced and all of the original Blocks and Item textures were being replaced with the new ones. This fix is adding the textures in with the original textures instead of simply replacing them. Now when you log in you have everything in it’s place along with your new blocks and items offered by the mod.
ENJOY!
Comments Closed.